Are you staring at your screen in disbelief after accidentally deleting important files or losing precious memories due to a system crash? Don’t panic! You’re not alone, and more importantly, there’s hope. Enter EaseUS—a powerful data restoration tool that can turn back the clock on your digital mishaps. In this step-by-step guide, we’ll walk you through the process of using EaseUS to recover lost data like a pro. Whether it’s family photos from that unforgettable vacation or crucial work documents, get ready to reclaim what was thought lost forever. Let’s dive into the world of seamless recovery and empower yourself with the knowledge to navigate these tech troubles with confidence!
Understanding Data Restoration and Why It’s Important
Data restoration is a critical process for anyone who relies on digital information. It involves recovering lost or deleted files from various storage devices, such as hard drives and memory cards. The importance of data restoration cannot be overstated. Accidental deletions, hardware failures, or malware attacks can happen at any time. These unforeseen incidents can lead to significant data loss that may affect personal projects or business operations. Having the ability to restore your data ensures you won’t lose precious memories like photos or vital documents needed for work. Knowing how to effectively recover your files gives peace of mind in an increasingly digital world. Moreover, understanding this process empowers users with knowledge about safeguarding their information better in the future. In essence, being equipped with data recovery skills makes navigating technology more manageable and less daunting.
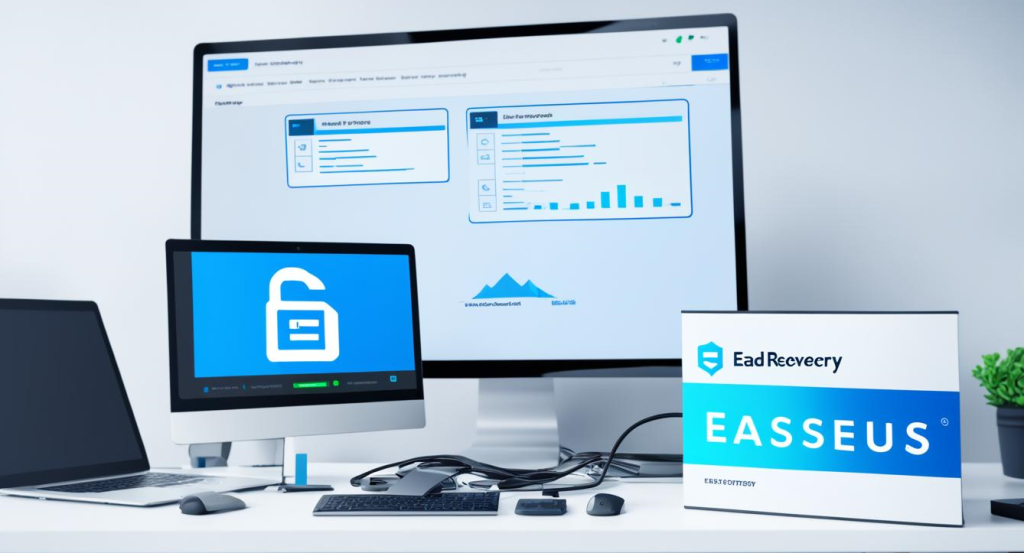
1. Downloading and Installing EaseUS
Getting started with EaseUS is straightforward. First, head over to the official website. You’ll find different versions tailored for various needs. Choose the one that fits your data recovery requirements. Once you’ve made your selection, click on the download button. The file size is manageable, so it shouldn’t take long to complete. After downloading, locate the installer in your downloads folder. Double-click on the file to initiate installation. Follow the prompts and agree to any terms and conditions presented during this process. It’s essential to install EaseUS on a drive different from where you lost data; this prevents overwriting any recoverable files. Once installed, launch the application and prepare for scanning—you’re one step closer to retrieving those important files!
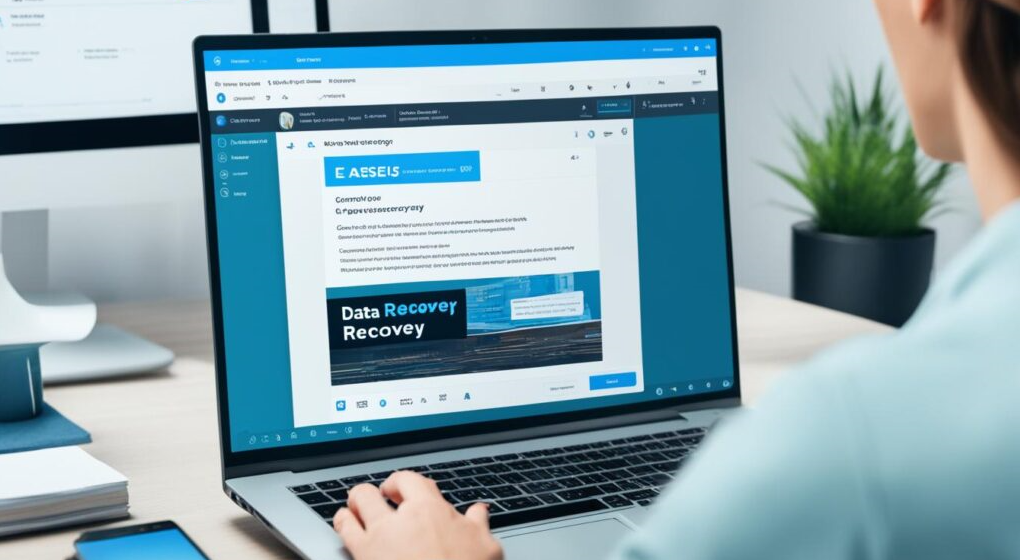
2. Scanning for Lost Data
Once you’ve installed EaseUS, it’s time to initiate the scanning process. This step is crucial for uncovering lost files that may seem out of reach. Launch the software and select the drive or partition where your data was last stored. Click on “Scan,” and let EaseUS work its magic. The tool employs advanced algorithms to comb through every nook and cranny of your storage device. You can choose between a quick scan and a deep scan. A quick scan happens rapidly, but if you don’t find what you’re looking for, opt for a deep scan next. It digs deeper into sectors that might contain recoverable data. As the scanning progresses, you’ll see real-time updates about what it’s finding. Patience is key here; depending on how much information needs to be sifted through, this could take some time.
3. Previewing and Selecting the Files to Restore
Once the scan is complete, you’ll see a list of recoverable files. This is where EaseUS shines in its user-friendliness. The interface allows you to browse through folders just like your regular file explorer. Take a moment to preview each file. EaseUS provides thumbnail views for images and documents, helping you identify what exactly you want to restore. You can easily filter results by type or date modified, which saves time if you’re searching for something specific. Just check the boxes next to the items you’d like to recover. After selecting your desired files, double-check them before proceeding. Ensuring that you’ve picked everything important can save headaches later on when it’s time to access those restored items again.
4. Choosing the Destination for Restored Data
Choosing the right destination for your restored files is crucial. You want to ensure that they are stored somewhere safe and easily accessible. When prompted by EaseUS, you will see options for locations. This can include external drives, cloud storage, or even different partitions on your computer. It’s essential to select a location that offers enough space for all the recovered data. Avoid restoring files to their original location if that’s where the loss occurred. Doing so might lead to further complications or data overwriting issues. Instead, consider using an external drive or dedicated folder on another partition. Additionally, make sure this new destination is secure and backed up regularly in the future. Properly managing your restored data helps maintain organization and reduces stress later on when you need access again!
5. Restoring the Selected Files with EaseUS
Once you’ve selected the files you wish to restore, it’s time for the final step. Click on the “Recover” button and watch as EaseUS works its magic. The restoration process begins, pulling your lost data back from oblivion. Depending on the size and number of files, this may take a little time. Patience is key here; avoid interrupting or shutting down your device during this crucial phase. When the process completes, you’ll receive a confirmation message. Now comes one of the most satisfying moments—the restored files will appear in your chosen destination folder. Make sure to check that everything has been successfully recovered. It’s always good practice to open some of these files to verify their integrity before moving on with more work or storage management tasks ahead.
Tips for a Successful Data Restoration with EaseUS
To ensure a smooth data restoration experience with EaseUS, start by being organized. Create a list of the files you need, which will help streamline your selection process. Before diving in, check for conflicts. Close any unnecessary applications to free up system resources. This can enhance performance during the scanning and restoring stages. Be patient while scanning for lost data. Depending on the size of your storage device, this may take time but it’s crucial to find everything you need. Always preview files before restoration. This step allows you to confirm that what you’re about to restore is indeed what you’re looking for. Lastly, select a different destination drive when restoring files. Doing so minimizes the risk of overwriting existing data and increases chances of successful recovery.