
In our digital age, losing important data can feel like a nightmare. Whether it’s cherished family photos, critical work documents, or essential project files, the thought of them disappearing in an instant is enough to send anyone into a panic. But fear not! With EaseUS at your side, recovering lost data has never been easier—or more reliable. This comprehensive step-by-step guide will equip you with all the tools and knowledge you need to navigate through the recovery process effortlessly. Say goodbye to anxiety and hello to peace of mind as we walk you through using EaseUS for seamless data retrieval. Let’s dive in and reclaim what’s yours!
Step-by-Step Guide on Using EaseUS for Data Recovery
To start using EaseUS for data recovery, first download the software from the official website. Choose the version that fits your needs—either free or paid—and follow the prompts to install it on your device. Once installed, launch EaseUS and select a recovery mode. You can choose options like “Deleted File Recovery” or “Partition Recovery,” depending on what you need. After selecting a mode, it’s time to scan for lost files. Click on the drive where your data was last located and hit ‘Scan.’ The software will quickly search through available storage to retrieve any recoverable items. Once scanning is complete, you’ll see a list of found files. Preview them before deciding which ones to restore. Select your desired files and click ‘Recover’ to save them back to their original location or another folder of your choice.
Downloading and Installing EaseUS
To get started with EaseUS, the first step is downloading the software. Head over to their official website to ensure you’re getting the latest version. This guarantees optimal performance and security. Once on the site, look for the download button prominently displayed. Click it, and a small file will start downloading to your computer. The process should only take a few moments. After completion, locate the downloaded file in your downloads folder or designated area. Double-click on it to initiate installation. A user-friendly setup wizard will guide you through each step. Follow the prompts carefully; they’ll typically require you to agree to terms and select an installation location. Once that’s done, click “Install.” The software will finalize its setup within minutes, giving you access to powerful data recovery tools right at your fingertips!
Selecting the Recovery Mode

Once you’ve installed EaseUS, it’s time to select the recovery mode that best suits your needs. This crucial step sets the stage for a successful data recovery experience. EaseUS offers several modes tailored to different data loss scenarios. You might choose “Deleted File Recovery” if you accidentally emptied the Recycle Bin or hit delete by mistake. For more severe cases, like formatting a drive, opt for “Lost Partition Recovery.” Each mode is designed with user-friendliness in mind. Just follow on-screen prompts and make your selection based on what fits your situation. Take a moment to read through each option before deciding. Understanding which mode addresses your specific issue can save you time and increase the chances of recovering lost files effectively. Your choice here lays the groundwork for everything that follows in this essential process.
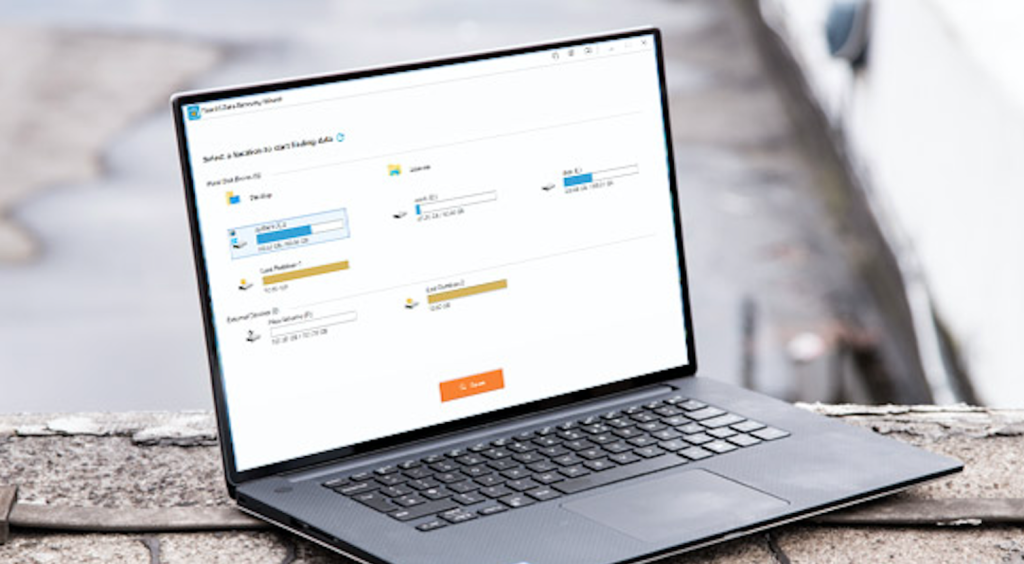
Scanning for Lost Data
Once you’ve selected the recovery mode, it’s time to start scanning for lost data. EaseUS offers a straightforward interface that guides you through this process seamlessly. The software will begin by performing a quick scan of your storage device. This initial scan looks for recently deleted files and can retrieve them faster than other methods. If the quick scan doesn’t yield all your desired files, don’t fret. You have the option to conduct a deep scan as well. This thorough examination digs deeper into sectors on your drive, uncovering older or more difficult-to-retrieve data. During this phase, you’ll see real-time progress updates and an estimated time remaining. Patience is key here; depending on your device size and condition, it may take some time to complete. Once finished, you’ll be able to view all recoverable files in organized categories—making it easier to sift through results efficiently.
Previewing and Recovering Lost Files
After the scan completes, you’ll see a list of recoverable files. This is where EaseUS shines. You can filter results by file type or search manually to find what you need. Previewing your lost files before recovery helps ensure you’re selecting the right ones. Images, documents, and videos will all display previews that make identification easier. Once you’ve found what you’re looking for, select those files. The intuitive interface simplifies this process. Just click on “Recover” after choosing your items. It’s crucial to save recovered files in a different location than their original spot to avoid overwriting any remaining data. A separate drive or folder works best for this purpose. This step allows you to safeguard against future losses while ensuring successful retrieval of your important information with ease.
Tips for Successful Data Recovery with EaseUS
To maximize your chances of successful data recovery with EaseUS, start by ensuring you stop using the affected drive immediately. Every new action risks overwriting the lost files. Next, choose a reliable storage location for recovered files. Avoid saving them back to the original drive until you’re sure everything is securely restored. This prevents further data loss. Regularly update EaseUS software to benefit from improved features and bug fixes. A well-maintained tool performs better during recovery processes. Be patient during scanning operations; rushing can lead to missed opportunities for file retrieval. Let the software work its magic without interruptions. Lastly, familiarize yourself with the interface before diving into a critical recovery task. Knowing where everything is located helps streamline your experience and reduces stress when time matters most.
The Importance of Having a Reliable Data Recovery Tool
Data loss can happen to anyone, whether it’s due to accidental deletion, system crashes, or hardware failures. This is where a reliable data recovery tool like EaseUS steps in and makes a significant difference. Knowing that you have an effective solution at your fingertips offers peace of mind. EaseUS not only simplifies the process of data recovery but also ensures that your important files are just a few clicks away from being restored. With its user-friendly interface and powerful features, it empowers users of all tech levels to recover lost data effortlessly. Having such a dependable tool readily available means you’re prepared for any unexpected setbacks regarding your digital assets. Whether you’re a professional working on critical projects or someone who simply wants to keep memories safe, investing in EaseUS could be one of the best decisions you make for securing your information. Embracing this technology allows you to focus less on what was lost and more on what truly matters—your work, creativity, and connections with others.